
The circuit board is the brains of your project, yes – but it’s actually so much more! There are considerations depending on how you’ll be using the board, and this post will help you decide. The microcontrollers we stock are a range of ones that we’ve selected because they are great for wearable projects, and your electronics hobby.
Let’s jump in with this stunning little ESP32 wifi-capable board with 25 programmable RGB LEDs! These are ESP32s!
The ESP32-C3 board, adds dazzle, there’s no denying it! It’s a small board so it’s great for being so lightweight. It would hold up for even thin fabrics when mounted. The capabilities of this board allow for Wi-Fi, long-distance Bluetooth 5 (LE), and low power consumption.
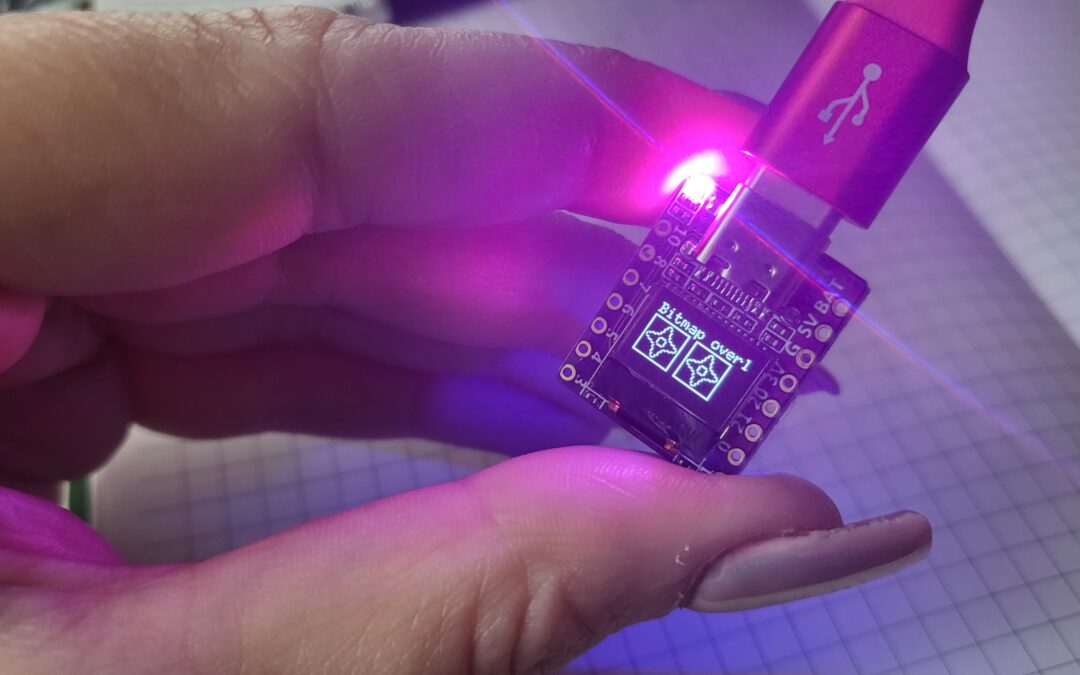
We also have this C3 chip with an OLED screen in place of the RGB LEDs if you prefer to have something readable on the board. Small which is great for your wearable tech.
ESP32 bursting on the scene
Since the ESP32 came onto the microcontroller scene, it has made incorporating features such as Wi-Fi so much easier and quicker and more compact. I remember buying big ethernet shields, and Wi-Fi shields to plug on top of an Arduino Uno which was a huge chunck of kit for a wearable. Designing for or near the body has other considerations and a component in our wearable being small & portable is a great start.
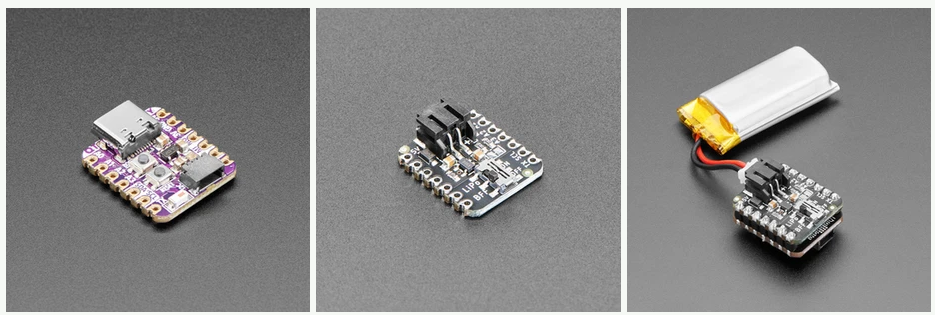
The lovely microcontrollers from Adafruit also allow for making fantastic feature-packed wearables. This includes using ESP32-S2 and ESP32-C3 chips on some of their boards. They are small, and they have a battery pack charge board that can be soldered on top too!
These all make for lightweight, portable, and feature-packed wearable.
Help – How is designing for wearables different from other circuits I make?
When we design for the body, an nobody or near-body device, we have to consider a few factors. This can range from:
- the curves of the body, where can you place the technology
- lightweight, don’t overburden someone wearing it
- unobtrusive, you don’t want it to stop how someone normally moves or acts
You might also consider the placement on the body. Will it be:
- visible, maybe as a necklace, broach, headband, or accessory of some description
- on the torso, will it restrict movement
- comfortable, is it on the hands or feet, preventing actions
These factors mean we need to choose carefully the microcontrollers we need.
You might also consider the specific usage area you are designing for. For example, is this for:
- a dancer or performer, how will the device affect their motion
- someone in a hot temperature, outside, or working near a fire
- someone who is in colder temperatures, maybe it is on a pair of gloves used in a harsh winter
- a humid environment, or are they exercising when wearing it
- someone concentrating on a task so does not want to be disturbed in an obvious way
Usage, purpose and planning are very important, these are only a few ideas to help you get started. I’ve written a wearable book and there are planning and prototyping chapters that you might be interested in reading. Or enter to win a copy!
Are there good microprocessors to choose from?
Yes! This is something we love to find and source! Let us know if we are missing a board you think is a smasher for creating a wearable.
Some of the small, or sewable, feature-packed boards include:
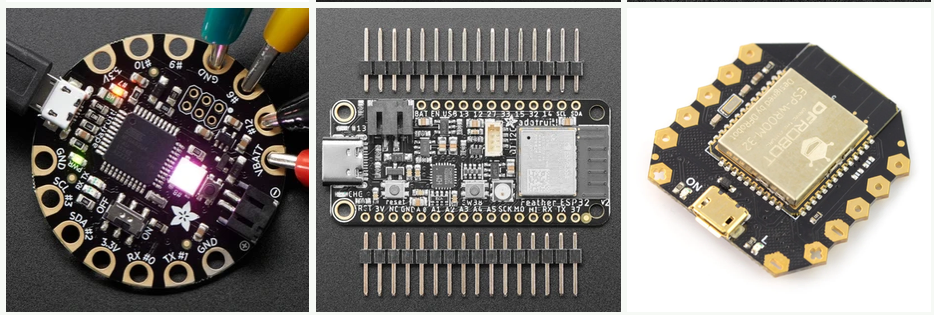
There are boards from DFRobot that also use the ESP32-C3 chip, their sewable Beetle, which has a dual-core ESP32. This is a lot of processing power so you can do two tasks at once if your wearable needs it. They also have an ESP32-C3 Beetle that comes with a mini protoboard shield – and – it has charging capabilities for your battery built right in! WOOP!
Mix it up – if you don’t need wifi – these are the top choices
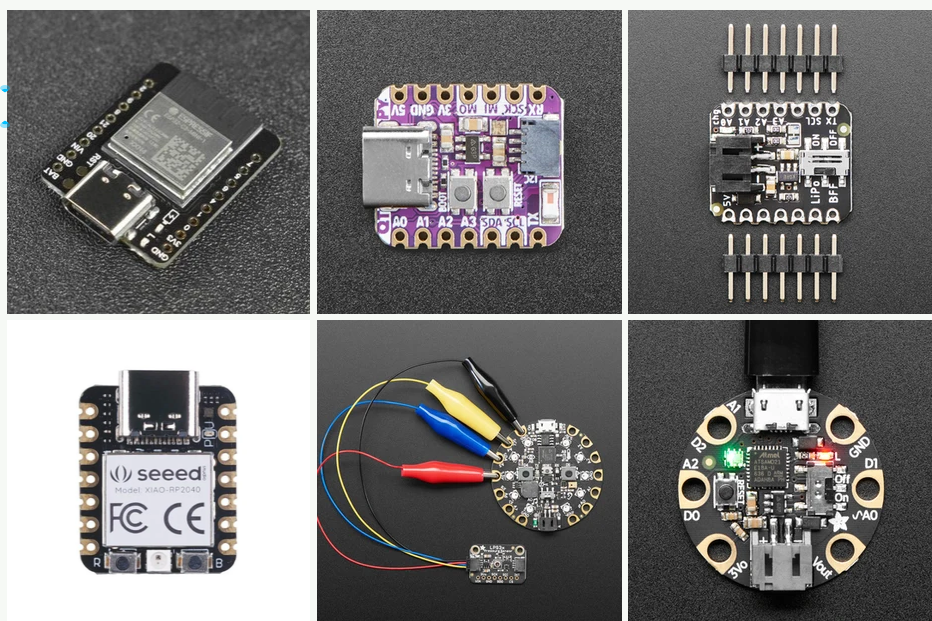
Try different circuit boards to find the one that suits your project. You might prefer one that is sewable, which Adafruit has made so easy for us makers. Their Flora range (Atmega32u4 chip) and the Gemma (ATSAMD21E18) provide you with two different sizes to choose from and sew tabs depending on how many inputs/outputs your circuit has.
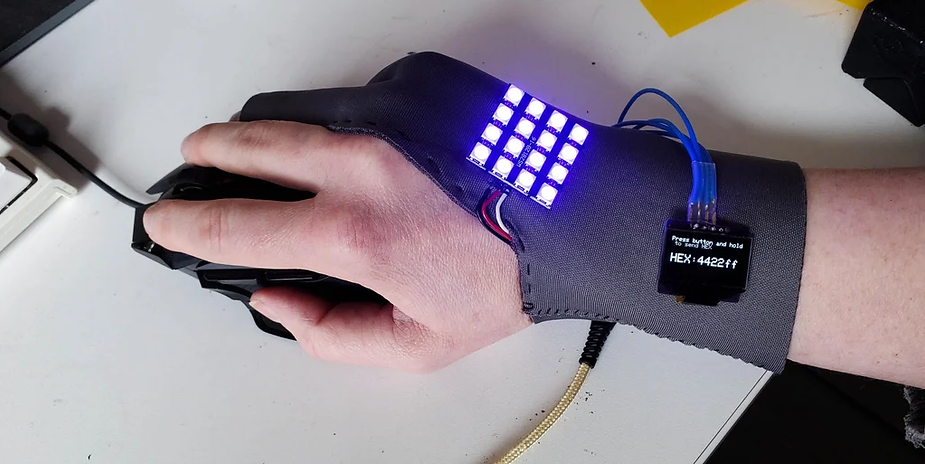
This project was made with a Flora board (and was coded for a Circuit Playground as well). See the project tutorial at Instructables. It has a colour sensor that takes colour from wherever you like, and then it displays the HEX code on the OLED as well as displays the colour on the 4×4 RGB LED grid. It also sends the HEX code straight to your computer so you can use it!
Lastly, if you need to have more functionality, there is an Adafruit Circuit Playground (Atmega32u4 chip), there are three boards in this range, that has a lot more sew tabs for your inputs/outputs, plus there are programmable buttons on it, programmable RGB LEDs, and many sensors such as temperature!
Time to get making
Now it’s your turn. Choose some of these unique boards to start your own projects, or follow along as you’re learning with some of my tutorials. Please leave a comment or question below.